Mulch Depth and Common Mistakes: Get It Right the First Time
Too much mulch suffocates plants. Too little wastes money. Learn the correct mulch depth for Australian gardens, common mistakes to avoid, and how to mulch like a pro.
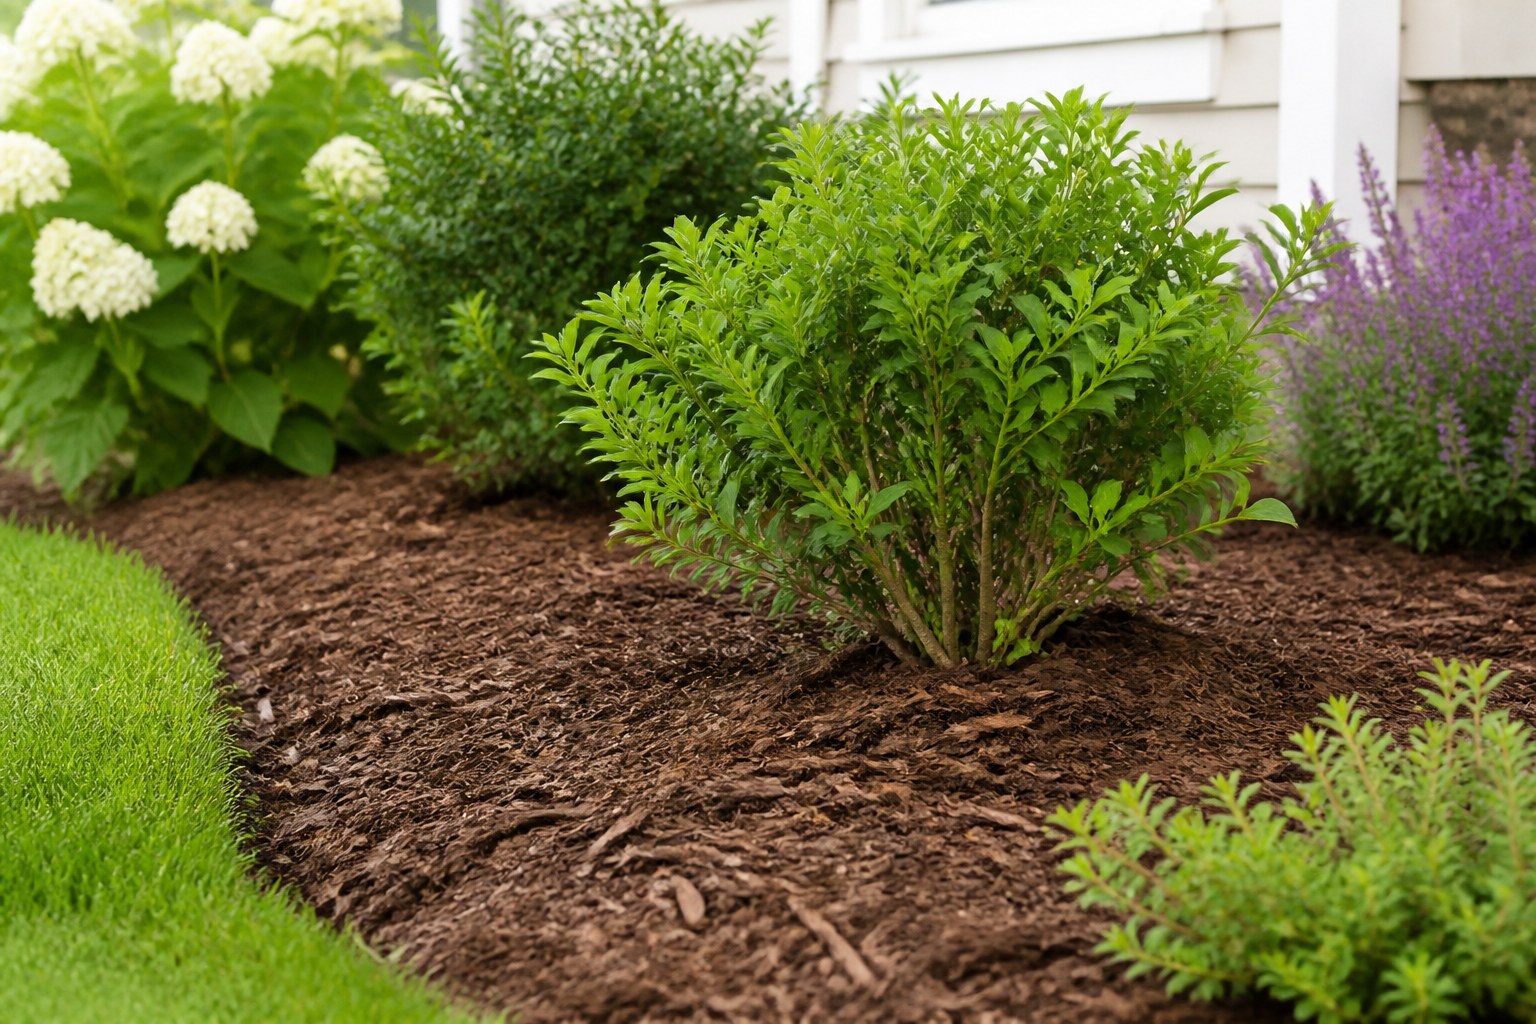
Mulch is one of the best investments you can make in your garden beds. It conserves moisture, suppresses weeds, regulates soil temperature, and looks great. But get the depth wrong and you’ll create more problems than you solve.
Here’s everything you need to know about mulching depth and the mistakes that catch out even experienced gardeners.
The Golden Rule: 75-100mm
For most Australian garden applications, 75-100mm (3-4 inches) of mulch is ideal.
This depth provides:
- Adequate weed suppression
- Moisture retention without waterlogging
- Soil temperature regulation
- Good air circulation to plant roots
- Professional appearance
Why Too Much Mulch Is a Problem
We’ve seen countless Peninsula gardens smothered under 150-200mm+ of mulch. While well-intentioned, this creates serious issues:
Suffocated Roots
Most plant roots need oxygen. Excessive mulch:
- Blocks air circulation
- Encourages roots to grow into the mulch layer instead of soil
- Makes plants more vulnerable to drought despite the mulch’s moisture retention
Stem and Trunk Rot
Mulch piled against plant stems, shrub bases, or tree trunks traps moisture and encourages:
- Collar rot
- Crown rot
- Bark decay
- Entry points for disease and pests
Critical rule: Always keep mulch 50-100mm away from plant stems and tree trunks. Create a mulch “donut,” not a mulch “volcano.”
Water Repellency
When organic mulches get too deep and dry out, they can become hydrophobic (water-repellent). Rain and irrigation run off instead of soaking through to the soil.
Nutrient Lock-Up
Decomposing mulch ties up nitrogen from the soil. Excessive depth amplifies this effect, potentially starving your plants.
Cost and Waste
Mulch costs money. Applying twice as much as needed doubles your cost for zero additional benefit - and introduces problems.
Why Too Little Mulch Fails
Skimping on mulch depth (25-50mm) seems economical but delivers poor results:
- Weeds break through easily - Sunlight reaches the soil and germinates weed seeds
- Breaks down too fast - Thin layers decompose quickly, requiring frequent reapplication
- Limited moisture retention - The key benefit of mulch is largely lost
- Looks patchy - Thin mulch shows through in spots, especially on slopes
Correct Mulch Depths by Application
Different situations call for slight variations:
Around Established Trees and Shrubs: 75-100mm
- Extend to the drip line (edge of the canopy)
- Keep 100mm clear of trunk/stems
- Top up annually as it breaks down
Garden Beds (Perennials, Natives): 75-100mm
- Maintain clearance around plant crowns
- Slightly thinner (75mm) for smaller, delicate plants
- Top up twice a year (spring and autumn)
Vegetable Gardens: 50-75mm
- Thinner layer allows easier replanting
- Top up each season
- Pull back from seedlings until established
Under New Plantings: 50-75mm initially
- Start lighter until plants establish
- Increase to full depth after first season
- Be extra careful around young plant stems
Slopes: 100mm
- Thicker layer helps prevent erosion and runoff
- Consider adding a physical edge to hold mulch in place
- Check annually and top up low spots
Tree Pits (Street Trees): 100mm
- Can handle slightly more depth in large pits
- Still maintain trunk clearance
- Important for moisture retention in harsh urban environments
Measuring Mulch Depth Correctly
Many people eyeball it and get it wrong. Here’s how to be accurate:
- Before mulching: Insert a stick or ruler to mark your target depth
- During application: Check multiple spots, especially around plants
- After settling: Mulch compacts 10-20% - account for this
- Avoid the “crowned” look: Mulch should be level or follow natural ground contours
A cubic meter of mulch covers approximately:
- 10 square meters at 100mm depth
- 13 square meters at 75mm depth
- 20 square meters at 50mm depth
Calculate your bed area and order accordingly. It’s better to be slightly short and top up than to over-mulch.
Common Mulching Mistakes
1. The Mulch Volcano
Piling mulch high against tree trunks is one of the most common and damaging mistakes. It literally kills trees, though slowly. Always create that donut with clear space around the trunk.
2. Mulching Over Weeds
Mulch suppresses weed seeds but won’t kill established weeds. Always clear beds thoroughly before mulching, or you’ll have weeds growing happily through your fresh mulch.
3. Wrong Mulch Type
Not all mulches are equal:
- Fine mulches (composted, soil-like) require less depth but break down faster
- Coarse mulches (hardwood chips) need full depth but last longer
- Stone mulch has different depth rules (typically 50mm) and doesn’t break down
Choose appropriate mulch for your plants and climate. Moisture-loving plants appreciate fine, moisture-retentive mulches. Natives often prefer coarser, free-draining options.
4. Not Top-Up Planning
Organic mulch breaks down - that’s a feature, not a bug. It feeds your soil. But it means you need to top up:
- Annually for coarse hardwood mulches
- Twice a year for finer composted mulches
- After major weather events if mulch has washed or blown away
“Top-up” means adding 25-40mm, not another full 100mm. You’re restoring the original depth, not continually adding to it.
5. Ignoring Bed Edges
Mulch looks terrible spilling onto lawns or paths. Proper edging contains mulch and creates clean lines. Consider installing physical edging if you’re tired of constantly redefining bed borders.
When to Mulch
Best times on the Peninsula:
Early Spring (August-September): Before weed seeds germinate and as plants begin active growth. This is mulching season #1.
Autumn (March-April): After summer heat stress and before winter. Protects soil through cooler months. Mulching season #2.
Avoid mid-summer: Disturbing established mulch in hot weather can stress plants and expose soil to harsh sun.
DIY or Professional Application?
Mulching large garden beds is physically demanding:
- Mulch is heavy (bulk bags or trailer loads)
- Spreading evenly to correct depth takes practice
- Achieving professional finish requires technique
- Loading, transport, and cleanup are time-consuming
Consider professional help for:
- Initial mulching of large areas
- Difficult-to-access beds
- When you want guaranteed correct depth and finish
- Annual refresh if DIY isn’t appealing
Professionals often get better bulk pricing on quality mulch, have equipment to spread efficiently, and know how to achieve that “magazine finish” that’s surprisingly hard to replicate.
Mulch Selection Matters
Correct depth is important, but so is choosing appropriate mulch:
Native gardens: Eucalyptus or hardwood chips (coarser texture, free-draining)
Ornamental beds: Quality composted mulch or aged bark (moisture-retentive, feeds soil)
Vegetable gardens: Fine compost, pea straw, or sugar cane mulch (breaks down to enrich soil)
Formal gardens: Consistent, fine-textured mulch (uniform appearance)
Cheaper mulches often contain more “fines” (dusty material) that compact easily and repel water. Mid-range to premium mulches spread better, last longer, and deliver better results even at correct depth.
Final Thoughts
The 75-100mm rule is simple, but it’s surprising how often it’s ignored. More is not better with mulch - correct depth is better.
Take time to apply mulch properly:
- Clear weeds first
- Maintain plant clearance
- Achieve consistent depth across the bed
- Keep edges clean and defined
Your plants will be healthier, weeds will be minimized, and your garden beds will look professionally maintained. It’s one of those details that separates good gardens from great ones.
And remember: if you find yourself standing in front of a pile of mulch wondering if it’s worth the back pain, professional garden services can handle the heavy lifting while you enjoy the results.
Need a Hand?
Garden bed installation, planting, and maintenance services. Get a quote from our trusted Peninsula partners.
Contact Peninsula Hard Yards →Disclosure: We share links to related local services that serve our readers in the Peninsula area.